Search This Blog

Showing posts with label OLD THINGS NEW. Show all posts

Tuesday, July 17, 2012

RUSTY LOVE

Here are some of my lovelies that have made their way into our home via auctions and my love for old rusty things :)
 Above is a chick feeder- could be used for an indoor herb garden, spools of thread, ribbons- its lovely
 i have no idea what to use these for but they were in a dollar box
 i was thinking of making these into a rug runner for the back hallway but decided to try and sell them
 iron pulleys, was going to use these for lighting in the kitchen but Lee said no- i now agree- trying to sell them .. super neat either way!

 mail rack- going to use it in my craft room to hold and organize things; what things?- ANY THING
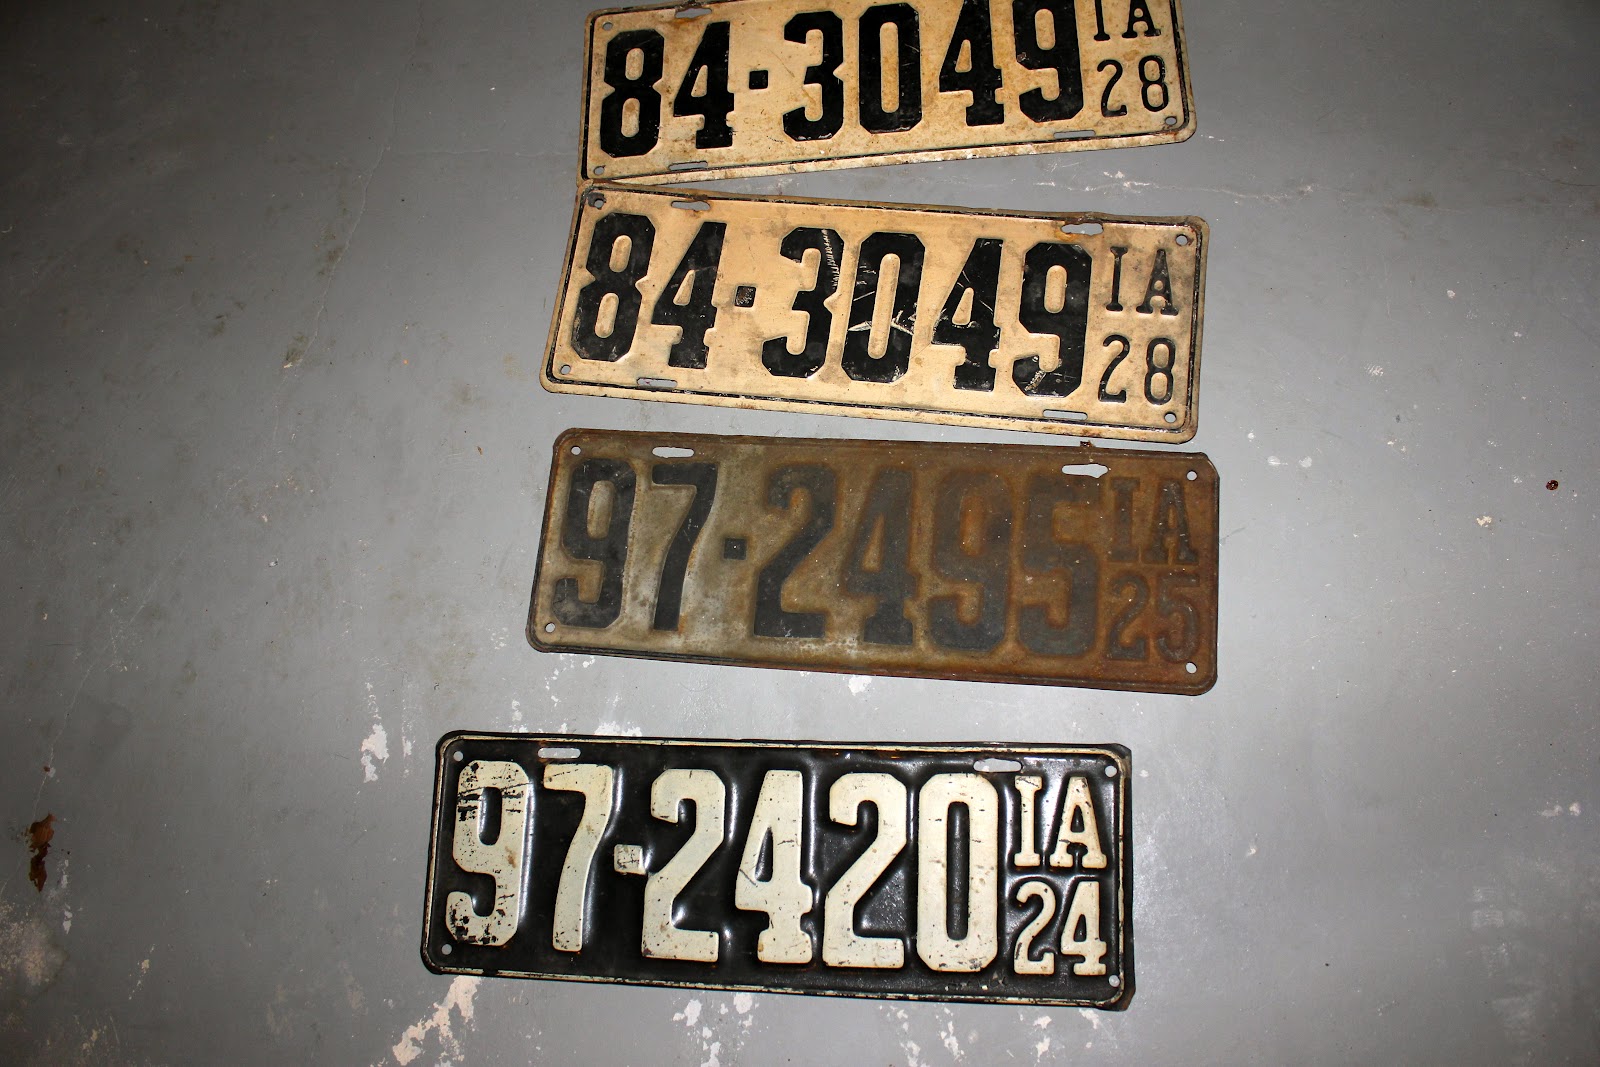
 these are amazing 1920's license plates- i wish so badly to know the stories behind them- how neat would it be to see the car it was on or the adventures the person driving took. so cool, we will be framing these and putting them in Lee's man basement.

my hay hooks- these will get the tips rounded off and spray painted and used as coat hooks in the entry way :) so excited!
Rusty junk has so many options for reuse and imaging the stories behind them is my absolute favorite part!

rust on!

Friday, June 8, 2012

SIDE TABLE

Found this table in the basement and wanted to use it in the guest room/baby room(at some point)
so I decided to take a leap and spray paint it gold hahah yep GOLD!

-wiped the table down with a damp cloth and cleaned it up
-should have sanded it but didn't :)
-sprayed it gold
-let dry for a couple days
-randomly sanded it throughout with sand paper to rough it up a little

final product - not too bad just looks funky with the rust carpet and the bed still in there, still love it though


spray on!

FRAMED LETTER

Here is the B lee helped me frame

-found a frame that matched one that Lee had previously made for a different picture
-took out the glass
-I bought a very inexpensive letter at a hobby store
-painted it with left over paint
-we used burlap fabric type stuff to cover the back of the frame with hot glue
-used hot glue to secure the B to the burlap
-put a lot of pressure and hot glue to make sure it stuck to the burlap

finished product is perfect!


frame on! 

BOOK PAGE WREATH

Lee's sister made this for me after I fell for the one his other sister had

she used an old book and rolled the pages up and stapled them to a wreath base- I'm not sure on exact directions but it is amazing and I love it having on my old huge window.

read on!

FARMERS FRAMED

American Gothic has always been a picture that I loved-

While at an auction this picture was for sale- granted its a poster not the real thing and was super inexpensive so I was excited- but it came in a gaudy gaudy frame, so Lee being the best handyman made me a frame from barn wood we found.

here is the finished product.
ignore the wood paneling :)
farm on!

JEWELRY PERFECTION

We moved to the new house November, 2011 and I had no where to put my jewelry, so Handy Lee and his side kick Scrounger wife found some old molding and put all types of screws, nails and hooks into it so I could have somewhere to put my jewelry.

it turned out amazing!


organize on!

FABRIC MAKEOVER

I received a rocking chair from Lee's Aunt and needed to recover the seat- easy peasy- Lee's sister suggested that I use a table cloth as the new fabric because it's easy to wipe off if something spills and plus its strong.

things you will need-

-had staple gun
-staples
-table cloth or fabric that's durable
-scissors


steps-

-take the seat cushion out of the chair
-lay fabric face down
-place cushion seat down
-make sure the seat can be covered with the fabric you have (pull all the sides up to make sure you can staple it into the wooden base)
-pull the fabric tight on one side, and put one staple in

-pull opposite side tight and make sure the face side is smooth
-staple that opposite side tight

- now repeat for the other two sides
-you will have excess fabric so cut it off. it doesn't have to be pretty on the bottom, just tight and secure
- the rest will need to be secured so fold in your corners like you are wrapping a christmas present and staple those down. make sure all your edges are smooth before you go staple crazy :)


-place the cushion back into the chair-enjoy!

I used this method for a rocking chair and for a phone desk.


Another great use for old sheets of fabric is to cover your closet shelves- I found that our shelves in this house were made of particle board- not easy to clean and it snagged all the stuff I put on it. So, once again the hand stapler came out. I cut up an old sheet that we liked but it didn't fit any beds and used that for the hall closets and the bedroom closets- same method as the chairs but less pretty :)

 THE CLOSET
 THE SHELF WITH THE SHEET ON IT
HOW THE BOTTOM TURNED OUT- NOT PRETTY BUT IT WORKS!

staple on!